Hey AdaSwap! We are happy to share this exciting article with you on how to use our testnet!
Our testnet will be deployed on the Milkomeda network, Milkomeda is a sidechain with EVM-capability connected to the L1 Cardano main chain, it is the 1st layer 2 solutions for Cardano allowing for a new wave of users and projects to be built on Cardano.
This is the summarized version of how to start trading, for a more in-depth look please see the full how-to summary here: https://wiki-dex.adaswap.app/milkomeda/milkomeda-testnet
Step 1: Flint Wallet
Add Flint Wallet as a Chrome extension
Step 2: Flint setup (Used to Aquire Testnet Tokens)
After installing, click the “puzzle piece” icon at the top right of the Chrome window to access your extensions.

Click “Let’s Begin”, choose your language, click “I agree”, and when you arrive at the screen shown below, click the “Testnet” button.
For now, you can select “Skip” at the App Passcode screen, and then click “Finish”. You should now have a Cardano Testnet wallet, as shown:
Step 3: Obtaining Test ADA
Within the Flint Wallet window, click “Receive”. At the Receive window, click “Copy Address” to copy your Cardano Testnet wallet address to the clipboard, and then click “Testnet faucet (tADA)” at the bottom of the screen, as shown.
This will take you to the following link: Cardano Testnet Faucet
Here, select “tAda” from the dropdown menu and paste your Cardano testnet wallet address into the “Address” field. You can leave the “API Key” field blank.
After waiting a few minutes (usually 5 minutes or less), you should be able to see some tADA in your Cardano Testnet wallet.
Step 4: Configuring MetaMask (Used to Trade on AdaSwap)
Now that we have a Cardano testnet wallet and some Test ADA, we need an address on the Milkomeda Cardano Testnet sidechain where we can receive our MilkTADA. For now, we recommend using MetaMask for this step.
First, install MetaMask for Chrome. Select the network dropdown at the top right of the MetaMask screen.
From the dropdown list, select “Add Network” and enter the following:
Network Name: Milkomeda Cardano Testnet
New RPC URL: https://rpc-devnet-cardano-evm.c1.milkomeda.com
Currency Symbol (Optional): milkTADA
Block Explorer URL (Optional): https://explorer-devnet-cardano-evm.c1.milkomeda.com
If you need a WebSocket endpoint, use the following: wss://rpc-devnet-cardano-evm.c1.milkomeda.com
Click “Save”, and you should now see “Milkomeda Cardano Testnet” in the network dropdown. Copy your Milkomeda Cardano Testnet wallet address to the clipboard by clicking on the account name, as shown.
Next, we will go back to Flint Wallet and send our test ADA to be wrapped.
Step 5: Send Test ADA from Flint to MetaMask
Open the Flint Wallet window and click “Send”. At the next screen, enable the “Milkomeda mode” toggle, paste your Milkomeda C1 wallet address into the “Milkomeda Ethereum Address” field, and enter the amount to send (300 Test ADA in this example). Click “Continue”.
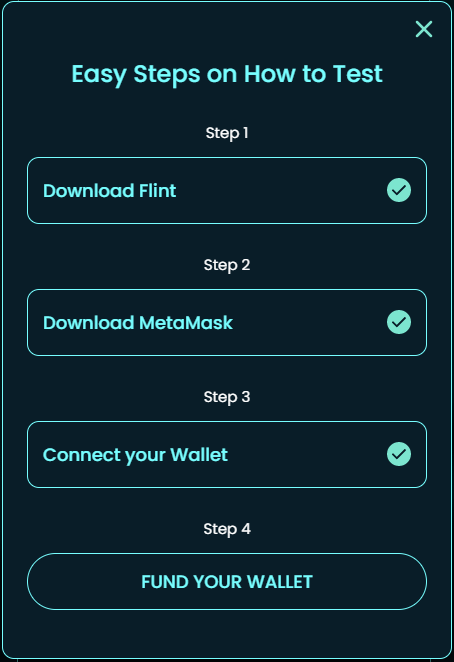
Step 6: Using the AdaSwap DEX
Go to the AdaSwap Testnet here! At the top, you will see the option to fund your MetaMask wallet that has been connected to the Milkomeda Testnet.
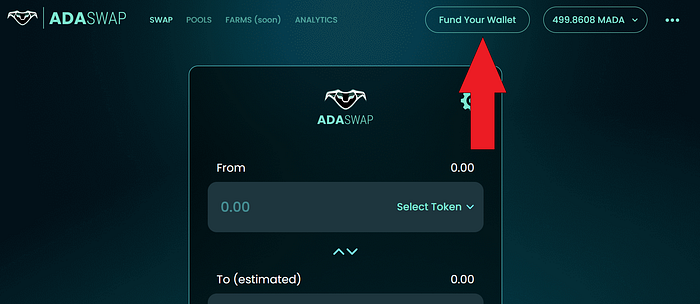
Once the Flint and MetaMask wallet has been set up and the MetaMask wallet has been funded with test ADA we can continue to claim AdaSwap Testnet tokens.
Simply click on “fund your wallet”, Accept the terms and confirm the transactions via MetaMask.
So, don’t forget to follow AdaSwap’s social media channels to stay up to date with the all such exciting news:
- Telegram Official Community — http://t.me/adaswapcommunity
- Telegram Announcements — http://t.me/adaswapann
- Medium — https://adaswap.medium.com/
- AdaSwap Twitter — https://twitter.com/adaswapapp